Knitting Table
This week I had the chance to help out one of my Peace Corp
Volunteer friends who started a woman’s group that is now knitting, doing
embroidery and sewing. The volunteer
purchased a used knitting machine in Arusha for them last year and has been
learning how to use it herself as well as getting some supplies for it. She recently asked if I could help by
building a table for the knitting machine.
It is a simple table 2 feet by 4 feet and 30 inches high but
specifically with a top thickness of less than 1” so the clamps she had for the
machine would work since they were small clamps.
The first thing I did was look at the clamp she had and
specifically the one would not full open because side that screwed in to
tighten the clamp would drag along the inside of the clamp itself. That was a simple fix of grinding down the
moving head until the clamp would open almost completely.
 |
| before filing down |
 |
| after filing down |
Another item that was needed were some type of weight to
keep the part already knitted stretched out and not to curl back up into the
work area especially with the small light weight yarns used here. I had several pieces of the old gate system I
thought would work I just need to cut off the any part that could not be ground
down to a smooth cylindrical shape. They
were a little shorter than what they wanted so made those and then also cut
some rebar and ground down the ends so there were no sharp edges to snag the
yarn.

Now to the table itself.
I cut four legs from the 1” square tubing each 29” taking into account
the table top height of about 1”. I then
cut 1” angle iron into four lengths of 1’8” leaving one inch on each side for
the angle iron itself and one inch for the wood to overhang. Next were four cuts of 1” angle iron 3’6” in
length which would allow 2 inches of wood to overhang on each end.
Why four each of the angle iron cuts when I would only need
two each for the top I was attaching the wood to. I needed another round of the
angle iron around the legs to keep the long legs bending out at one time or
another especially whenever the table was dragged into place. In addition it would allow them to build a
shelf in the future if they felt it was needed.
One of the biggest problems I have mentioned before in
welding up joints using the metal here is the fact the metal is not very thick
and even on the lowest setting of the welder you can burn a hole in the metal
before you get a good weld. This is
especially a problem when trying to build something like a table with no workmate
to hold various pieces stable while you connect them together. So this time I decided to use the thin metal
to my advantage instead. I had purchased
a hand rivet gut last year while in Arusha.
Finding the hand rivet gun was not that hard, finding rivets was very
difficult. Out of the 20 something
hardware stores I visited only two had rivets and between the two I got no more
than 20 rivets.
I decided I would connect the pieces together with the
rivets to hold them up initially.

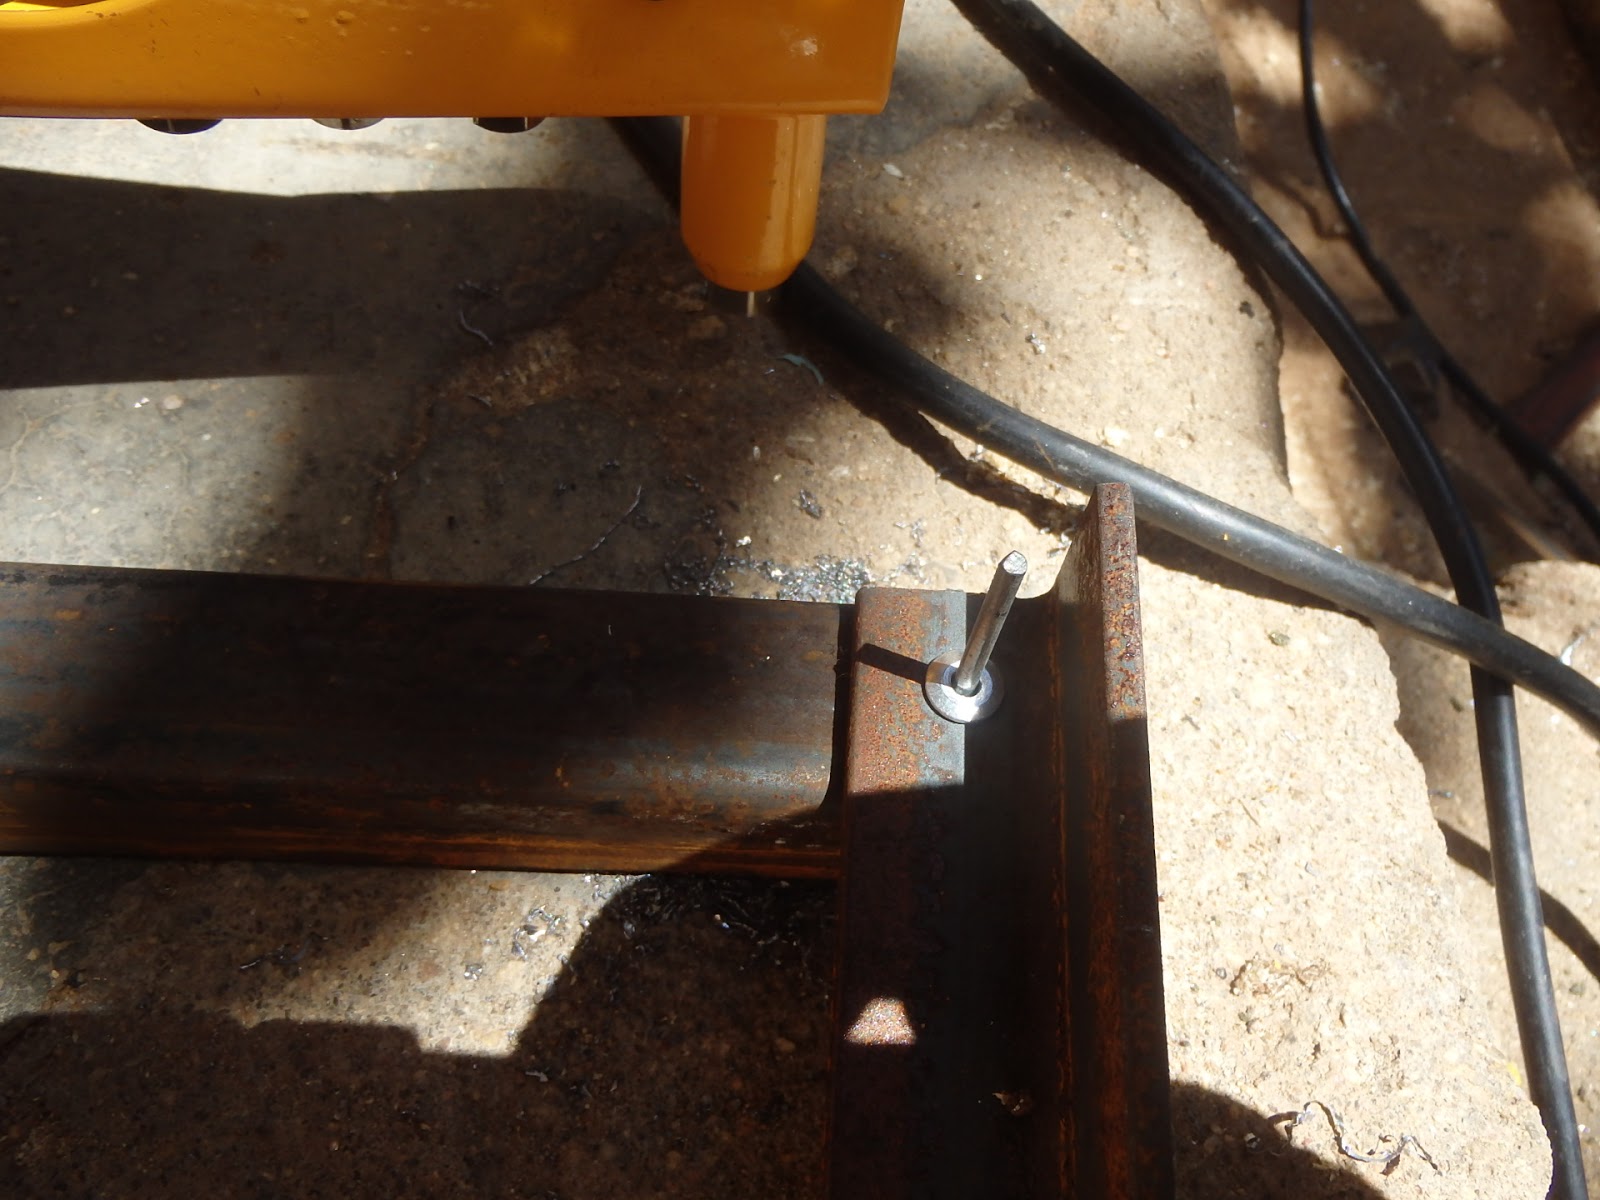
Unfortunately, rivets don’t keep the metal from moving around so the
pieces would fold up and eventually put too much stress on the small rivets
which are not strong in shear especially when the shear forces act on multiple
planes like it would if they twisted. I
actually tested this theory by riveting two pieces of scrap together and then
tearing them apart by hand. So the idea
was to put everything together using the rivets and then weld the joints into a
solid form that would not fold or twist.

 |
| screw head sheared off |
Overall the idea worked pretty good and then I applied the
wood top by drilling holes in the angle iron and screwing the wood top to the
angle iron from underneath. This would
have been much easier if the drill bits I bought in the USA had not kept
snapping and the heads of the screws did not also shear off. But in the end I got enough screws to secure
the top.
The wood top was now 1-1/8” in thickness because 1”x8” wood
was actually that thick. I now get to
use my new power tool the electric hand planer.
This worked fantastic but like I was afraid of it can easily gouge the
wood as well it is so powerful. I had to
do a little extra work to try and work out some of the initial gouges while I
learned how to use the new tool.
After I finished planning the wood top down to the required
thickness, I sanded the top and then applied a stain and varnish coat.

The last touch was to rivet on an old dehydrated milk can to
the inside of one of the legs so they could store the clamps and metal weights
when not in use.


Comments
Post a Comment