Toolboxes

I considered three types of tool box/bags/containers: metal boxes available everywhere in Singida, 3 gallon or 5 gallon plastic buckets also available everywhere in town, or canvas tool bags which are only available in Arusha. So I purchased one of each. The canvas bag was one I had been given in the states, the 3 gallon plastic bucket cost roughly $1.5 and the metal box which is the smallest version they have cost $7.5 roughly.


Yes those are my fingers poking through the bag. The next thing is to test the more readily available containers from Singida to see if my tools fit in them. The largest tool is the circular saw so it was the only one that would only fit in the metal box and not the plastic bucket. I could get a 5 gallon bucket for slightly more money to solve that problem but I decide to test out the box idea.


Some pros for the metal boxes include they are larger space wise and because they are not so deep it easier to get to items in them as opposed to the bucket where you may have to dig things out to get something on the bottom. The metal boxes will stack better because they have a wider more stable base and could actually be hung off the walls using the handle. Some problems include they are metal so they will get hot when out in the sun and when stacked they could rust at the corners where they touch and paint gets rubbed off. I can solve the rust problem by putting rubber strips along the edges, but they leave the boxes stacked for sale and they don't have any rust so it may not be a big problem. The heat could be but they will mostly be used around the tool room so I am not sure how big of a problem it will be. A problem is seen in the picture below: the handle is too small but I can fix that by installing a door handle using rivets or buy the next size up. The next size up is the better solution as it only costs $0.80 more.


Some pros for the plastic buckets will be that you can sit on them, they will not get hot like the metal boxes.
I think the best solution will be to use the metal boxes for the tools and the plastic buckets to create some tool buckets for certain type of projects like one with electrical tools and equipment, one with plumbing and so on. I can get hold of a canvas bucket buddy in the states and see if a local tailor can duplicate it using the faux leather products available for furniture and cars.
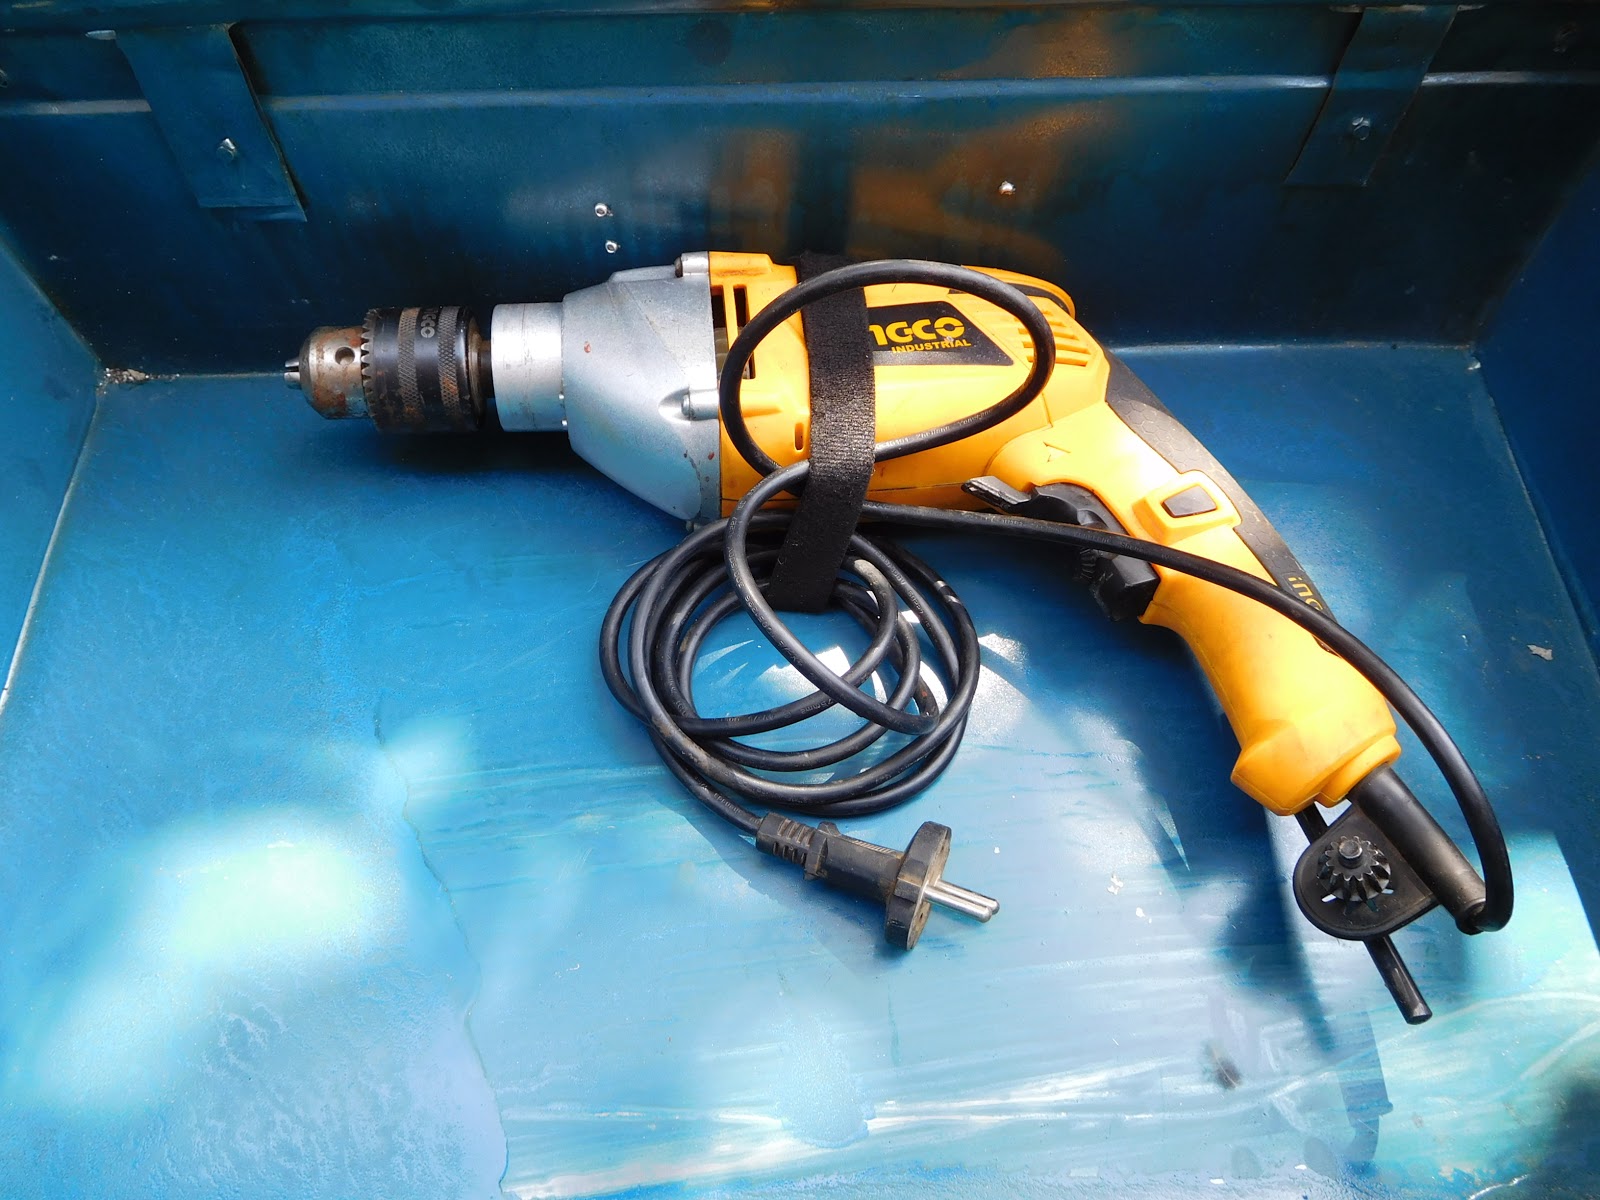
Now to start putting a toolbox together. I am going to start with the electric drill. The battery powered drill is actually in a plastic fitted case so I am going to leave it be and just do the electric drill and all of my drill bits and accessories. First everything needed to be cleaned.


Then all this and a couple of other items need to be arranged in the box.

Because the box is made of a sheet metal I am going to use rivets to attach as many items to the box as possible. I am going to start with a great find at Sam's Club last Chrimstas, the drill bit box for under $20. It has a large selection and multiple bits of each size. They are in a box that I am worried will allow them to mix up when being carried but it turns out they are in individual bags so it will work just fine so I attach it to the inside of the lid.


Next I want to attach the drill using velcro strips and rivets to hold the velcro to the box.
I was worried the velcro would pull loose and it did. I don't have a good washer selection on site and did not want to wait until I went to town again to work on this so I used the plastic lids from spray paint cans and cut them up into small pieces and drilled through them. so they would provide something harder to sandwich the velcro between.
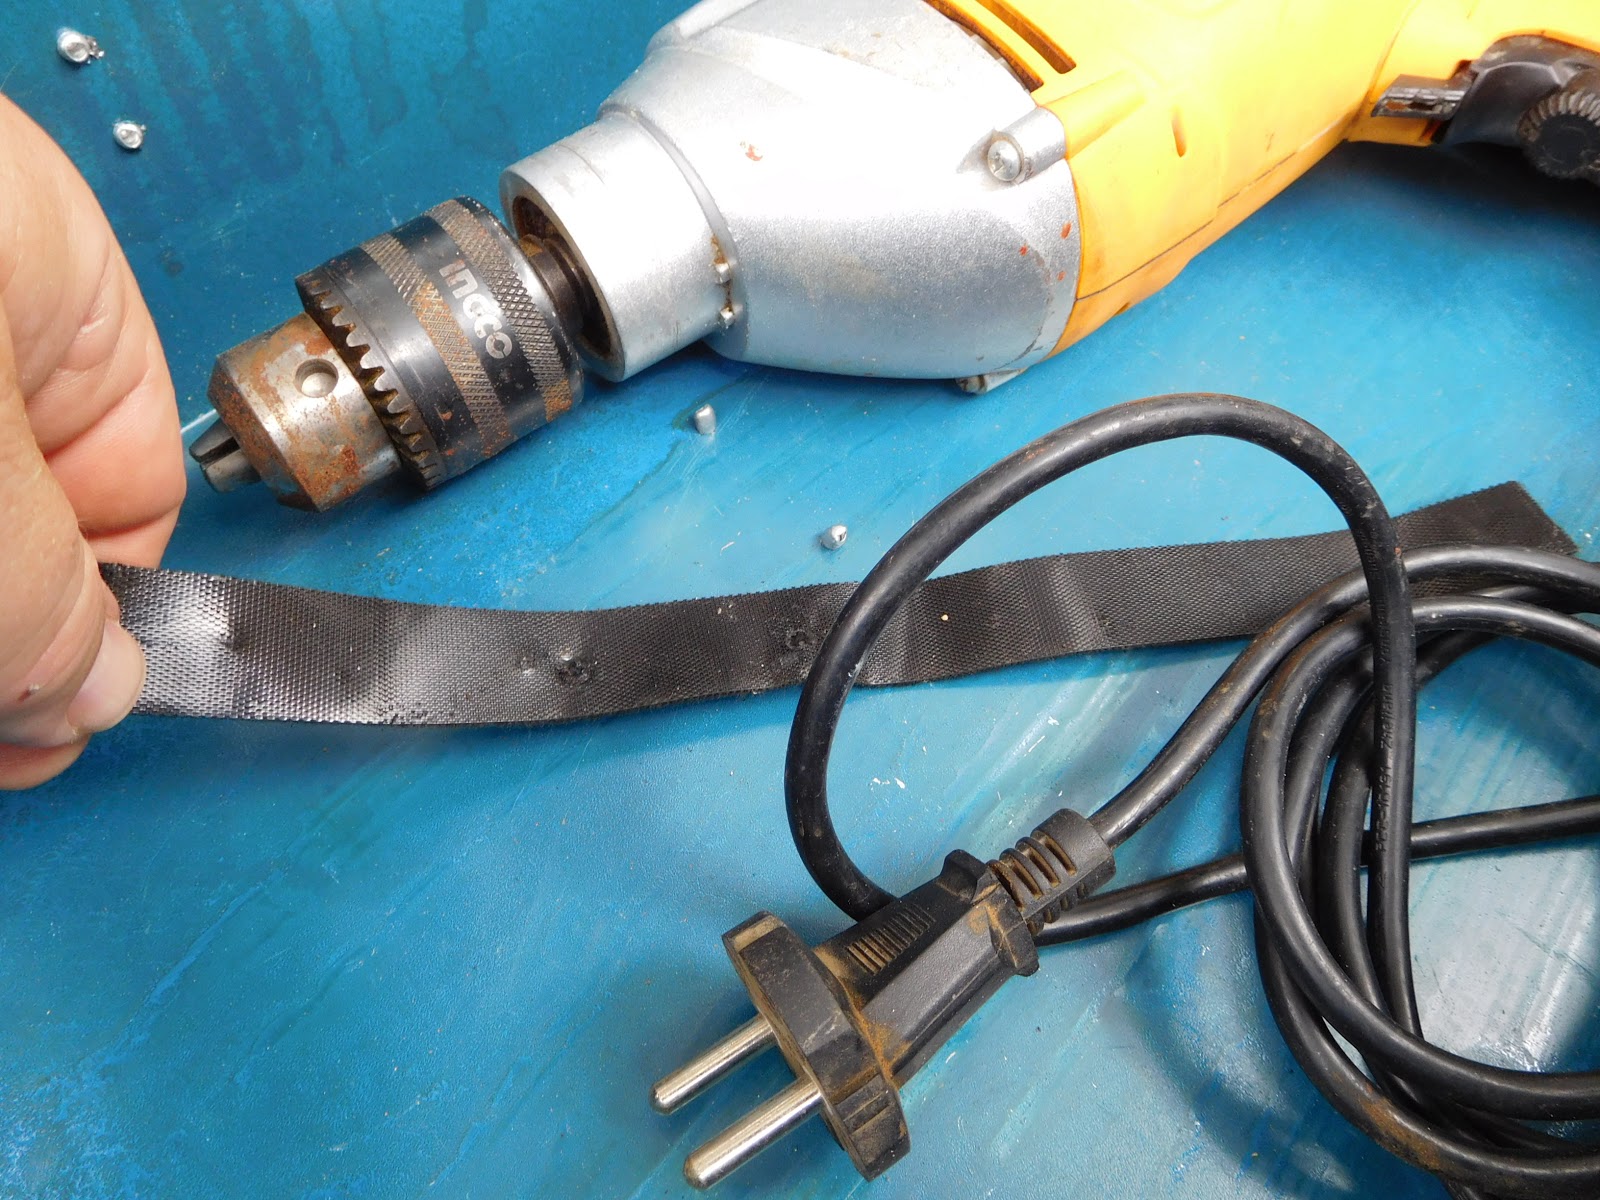


Next I use rubber straps that are available everywhere in Tanzania. They are used for strapping things down to pulling cars out of mud holes. They are cut from old inner tubes and really are not much good for heavy loads like strapping items on the rack of the truck because they will break as they normally do when they try to pull a vehicle with about 20 of them. It will work good for holding things in place after using the plastic pieces and rivets to form "slots" for items to be stored.


In all I like the finished project enough I tackle the the two saws (jig and circular) next.

Finished product

Finished product lid

finished product with name spray painted


The saw box was much easier to make since their were fewer items. In fact a lot of the small items I just put in a ziplock bag and put it inside the box. The velcro held the circular saw in place as I carried it around.


Comments
Post a Comment